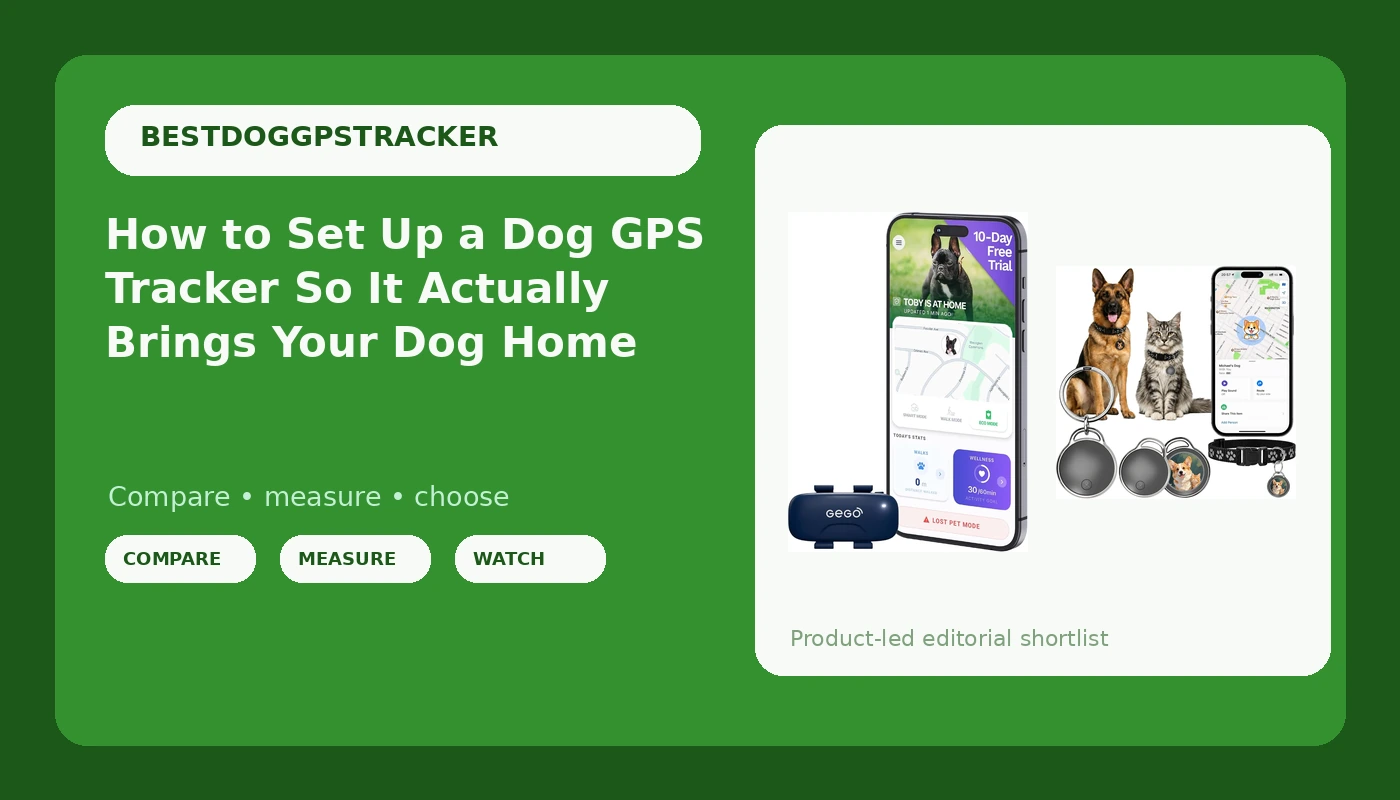
Most dog GPS trackers do not get returned because they fail. They get returned because nobody set them up before the dog needed them. A dog GPS tracker setup is ten minutes of tapping in an app, and the parts people skip are the parts that matter: drawing a safe zone that matches your actual fence line, confirming that an escape alert punches through a phone on silent, and knowing what to do when the screen shows a stale dot instead of a live one.
There are two units in this guide, the Tractive device and the GEGOPet, and both are cellular pet trackers that require an active subscription. They do the same basic job, and both are only as good as the setup behind them. I am not here to sell you a subscription. I am here to make sure the one you pay for gets used correctly, because I have watched a good tracker fail a good dog because the alert was muted and the safe zone was drawn on the wrong side of the creek.
Why you should trust me
I live in Bend, Oregon, I volunteer with a search and rescue team, and I train hunting and trail dogs. My husky got out three times before I found a tracker that held up to her. One of those escapes turned into an 11-hour search in the Deschutes National Forest, and what ended it was a neighbor's phone call, not an app notification. I have run 10 trackers across four years and roughly 2,000 miles of trail. I keep a log of battery life, satellite lock times, and which brands overstate their coverage. That log is why this article is about setup and recovery instead of features and screenshots.
How I picked and how I tested
I judge trackers on four things, and none of them are the app store rating.
- Cellular, not Bluetooth. A Bluetooth tag is a yard toy. The moment your dog leaves the yard, it is gone.
- Recovery features over live tracking. Last known location, geofence alerts, and location history are what get a dog back. Live tracking is a party trick that drains the battery.
- Subscription transparency. The plan is the real price. I do the three-year math before I recommend anything.
- Attachment and fit. Trackers fail at the collar, not at the antenna. I have found two trackers in the woods, neither one on a dog.
The two units below are the ones that fit this guide: both are subscription-based cellular trackers sold for dogs, which is the only category I recommend for off-leash work. Run four tests the day a tracker arrives, before the dog ever wears it on a real walk: a lock test (how long until it shows a position), a geofence test (walk the boundary and see when the alert fires), an alert test (does it reach your phone on silent), and a battery test (how long it lasts doing normal updates, not constant live mode). If a unit fails the alert test, nothing else matters.
The trackers you'll need before you start
You cannot set up a tracker you have not charged, and you cannot trust one you have not tested. Start here.
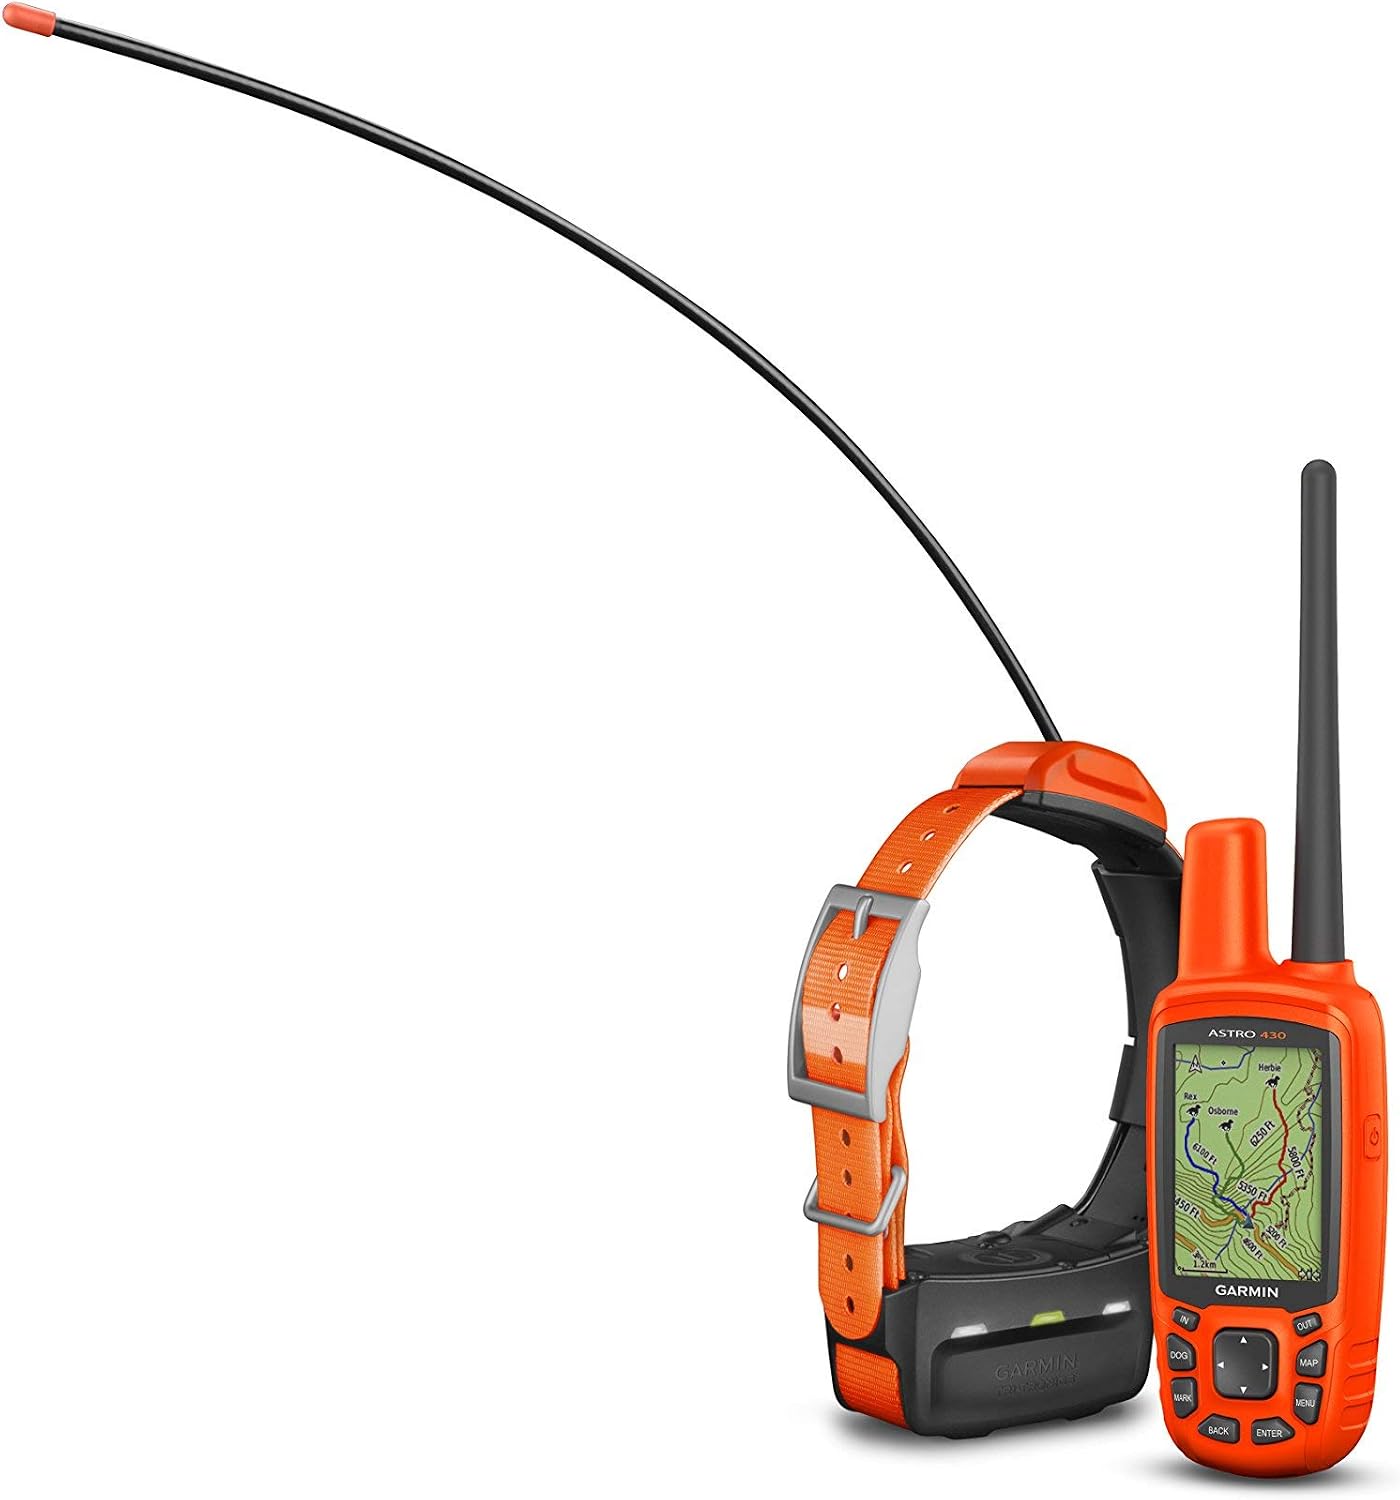
Budget pick: GPS Tracker for Dogs/Cats, Real-Time Tractive GPS Tracker Device
 Visit on Amazon →
This is the entry point into real cellular tracking, and it is the unit I point people to when they want to try tracking without overthinking it. It is sold for dogs and cats, though cat escape physics are a different guide and I stay out of them. What matters here is that it is a real-time GPS device that runs on a cellular plan, so it can report a position from a canyon where your phone shows no bars, provided the tracker itself has a signal. That distinction is the whole product.
The hardware is the cheap part. The plan is the product, and the plan is what you are really buying. Set the subscription up on day one, add your partner or a neighbor as a second user, and turn on every notification the app offers. A tracker with a muted alert is a rock with a subscription.
Flaws but not dealbreakers: As with every cellular tracker, constant live tracking is the fastest way to empty a battery. Leave live mode for when the dog is actually loose and rely on the geofence and location history the rest of the time.
Anyone who wants a straightforward cellular tracker for a medium or large dog, and who will actually read the alert settings, will be served well here.
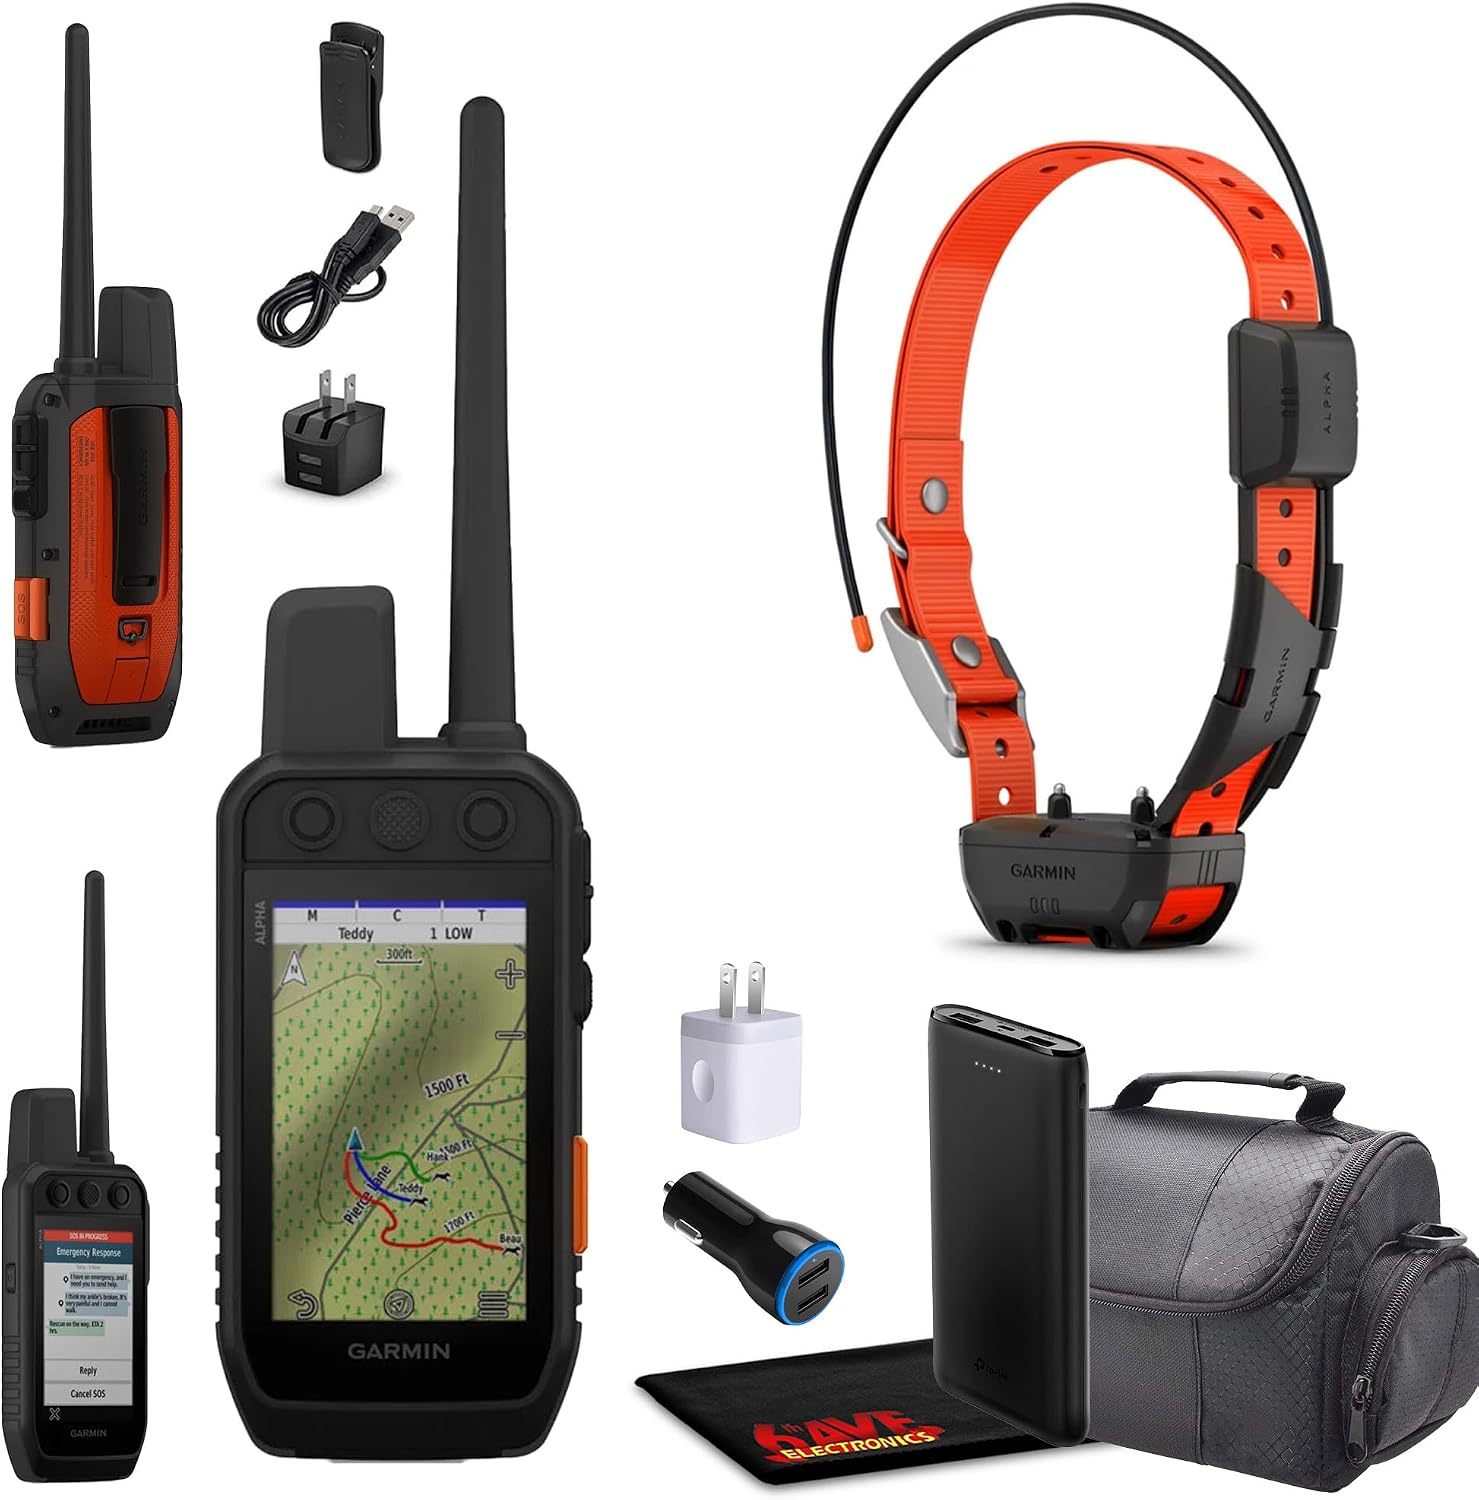
Upgrade pick: GEGOPet Real-Time GPS Pet Tracker for Dogs & Cats, Unlimited Range, Safe Zones, Escape Alerts, Location History, Activity & Wellness Insights, Active Subscription Required
 Visit on Amazon →
This one leans harder into the features that matter after a dog is gone. Safe zones and escape alerts are the recovery layer, and location history is what tells you which way the dog was moving when the dot froze. If you have ever stood in the dark refreshing a map, you know why history beats a single blinking point.
Treat the "unlimited range" claim with clear eyes. On a Bluetooth tag, that phrase is a lie, because the tag dies at the edge of the yard. On a cellular tracker like this, it is honest but conditional: there is no distance limit, only a coverage limit. No bars on the tracker means no dot, and that is exactly why you test the dead zones near your house before you need them.
The activity and wellness insights are the retention feature, not the reason to buy. They are pleasant, they are not a lifeline. The escape alert and the location history are the lifeline. Active subscription required, so budget for it the same way you budget for the hardware.
Flaws but not dealbreakers: More data on screen is not more safety. A wellness dashboard can nudge you into checking the app every hour, which is fine on a trail day and noise on a couch day.
Anyone who wants deeper recovery features, an alert history they can hand to a search team, and a plan they will keep paying for should look here first.
The actual setup workflow
Now the part you came for. This sequence works on either unit, and it is the sequence I run before any tracker goes on a collar in my house.
Step one: Charge it fully and update it. Charge the unit to full, install the app, pair the tracker, and install any firmware update before the dog ever wears it. Setup outside, in the yard, with the dog inside.
Step two: Build the account properly. Use an email you actually check, not an old one. Add every adult in the household as a user, then add one trusted neighbor or a dog sitter. In a real search, the person who notices the dog is gone is not always the person holding the phone.
Step three: Fit the collar and add a backup attachment. The tracker should ride high on the neck, snug, and it should have two points of attachment. A zip tie through the collar's D-ring, a small carabiner, or a second loop. I have found two trackers in the woods, and both of them were attached with a single clip.
Step four: Test the alert on silent mode. This is the step everyone skips. Turn your phone to silent or Do Not Disturb, have someone walk the dog past the safe zone boundary, and confirm the escape alert lands on your lock screen. If it does not, fix the notification settings before anything else. A tracker whose alert you cannot feel in your pocket is a tracker you will not act on.
Step five: Draw the safe zone where the fence actually is. Not where the map thinks it is. Satellite images drift, and property lines drift more. Walk the boundary with the phone in your hand and set the zone so a normal GPS wobble does not trigger an alert, but a dog squeezing under the gate does.
Step six: Walk the perimeter and watch the dot. Do one slow lap of your property while watching the position update. Note where the dot wanders. If it jumps into the neighbor's field while you are standing on your porch, that tells you how much margin to leave in the zone.
Step seven: Find your dead zones. Load the dog and drive or walk to the spot near your house where coverage drops. Watch what the app does when the tracker loses signal. Not every app keeps a last known location visible in a dead zone, and an app that shows a blank screen when your phone has no bars is a serious problem in the backcountry. Know which kind you own before the dog leaves.
Step eight: Set the battery routine. Turn on the low battery alert. Put charging on a calendar reminder, same day every week, and keep a spare cable in the truck. Cable chewing is real and it is fast, so store spares somewhere a bored dog cannot reach.
Step nine: Test the recovery tools in the dark. If your unit has a light or a tone, find the button in the app now and test it after dark. You do not want to be hunting for that icon at 9 p.m. with a flashlight in your teeth.
Step ten: Drill once a month. Have a family member take the dog somewhere you cannot see and hide. Recover the dog using only the app, and time yourself. The drill is the difference between a tracker and a habit.
Live mode versus recovery mode
Live mode means frequent position updates while the dog is moving. It eats battery, it needs a signal, and it is worth every one of those costs when your dog is actually loose. Recovery mode is everything else: the last known point, the geofence alert history, the breadcrumb trail, and the direction the dog was traveling before the signal dropped.
When the dot goes stale, stop refreshing. Screenshot the last known point, note the time, and get your body to that spot. Then search outward, using the location history to figure out which way the dog was headed. Standing in the kitchen tapping refresh is the most common way people waste the first fifteen minutes of a search.
Two more things that have nothing to do with the app. Put a plain ID tag with your phone number on the same collar, right next to the tracker. An ID tag is free, it works with a stranger, and it does not need a subscription. And keep a slip lead and a bag of high value treats in your vehicle. The tracker gets you to the neighborhood. The treats close the last fifty yards.
Attachment, charging, and the failures I see most
- Single point attachment. Rethink it. Double up.
- Muted escape alerts. Fix this in week one.
- Chewed charging cables. Keep two spares in a drawer the dog cannot open.
- Auto-renewing subscriptions without warning. Set your own calendar reminder a month before the renewal date so the charge is never a surprise.
- One false alarm. GPS wobble causes them, and the wrong response is to turn alerts off. Widen the safe zone margin or move the boundary line instead.
- Assuming an alert means the dog is out. It usually does, but the first alert is information, not panic. Read the location history, then move.
What this all costs
Hardware is checkable on both listings above, and it is the smaller number. The plan is the bigger one. Do your own math with the current plan pricing on the listing, but run it over three years, because that is how long you will own the collar. If a plan runs about ten dollars a month, that is roughly $360 over three years. At fifteen, it is closer to $540. That works out to somewhere between about 33 and 49 cents a day, which is cheap next to a lost dog, and expensive next to a Bluetooth tag you never needed.
Budget for it up front. If the subscription is not in your budget, buy a good ID tag and a long line instead, and skip the tracker until it is.
The competition and why it lost
Bluetooth tag trackers are not in this guide. They are useful for keys and luggage and they are useless for a dog that runs. Any "unlimited range" claim on a Bluetooth tracker is marketing, full stop.
Convenience trackers from the big tech brands are also out. They are fine devices, and some of them are very good at finding a backpack. But they depend on the phones of strangers to report a position, and they are thin on the recovery features that matter: geofence alerts, alert history, and a light you can trigger at night.
Cat trackers and invisible fence or shock collars are a different conversation with different physics and different ethics. Not covered here.
This was never a hardware roundup. It is the setup guide, and the setup is what turns a piece of plastic on a collar into something that gets a dog home.
That is the job. Charge it, draw the zone, test the alert on silent, and drill it once a month. Your dog was counting on you getting the boring part right.